
OxfordHotGrips
Introduction
Oxford Hot Grips are a well known brand of heated grip. They work well on the GS but they don't just fit straight on out of the packet (like they do on most other bikes). I thought that I would detail my installation so that others don't need to reinvent the wheel!
Installation time is around 1 hour.
What you will need
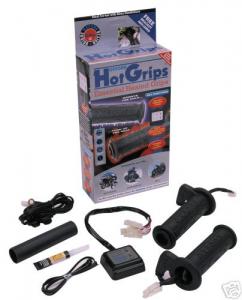
The Oxford Hot Grips pack comes with the left and right grips, a heat controller, a metal bracket for the controller, zip ties (crap did not use), super glue (did not use), mounting screws and a fused power loom.
In addition to this you will need:
- black electrical tape
- small black nylon zip ties (to replace the hopeless ones in the pack)
- WD40 and rag
- 5 minute epoxy
- acetone and plenty of small rag offcuts
- a flat hand file
- dremel with sanding attachment (optional but recommended)
- scalpel or very sharp craft knife
- satin black spray paint
- basic tools (screwdrivers, spanners, drill etc).
Removing existing grips
First remove your bar ends.
Then the easiest way to remove the existing grips is to insert a long thin screwdriver in between the grip and the handlebar. Squirt some WD40 in the gap.
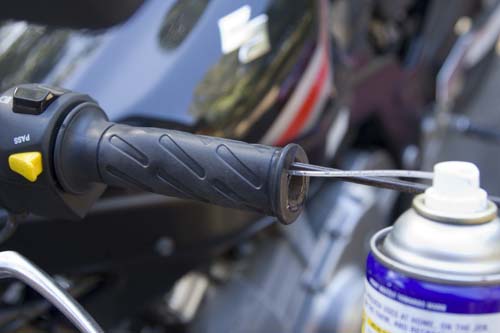
Roll the screwdriver around the handlebar one revolution to spread the WD40. Pull out the screwdriver and simply pull the grip off the bar. Be aware that the throttle grip has a raised ridge at either end that you will need to slip the grip over - no biggie.
Wipe off the WD40 from both bars with your rag. Get it nice and clean so that the new grips will stick later.
Grinding the plastic throttle tube
The plastic throttle tube needs to be altered so that the right-hand grip will fit onto it. The best tool for this is the dremel with sanding wheel.
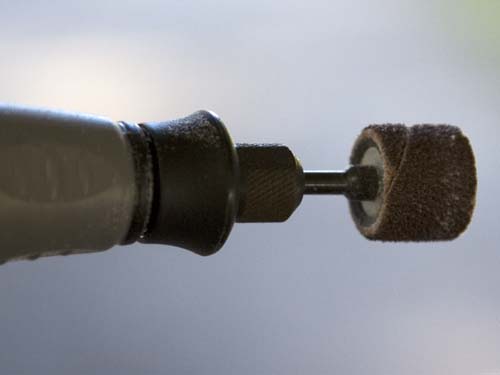
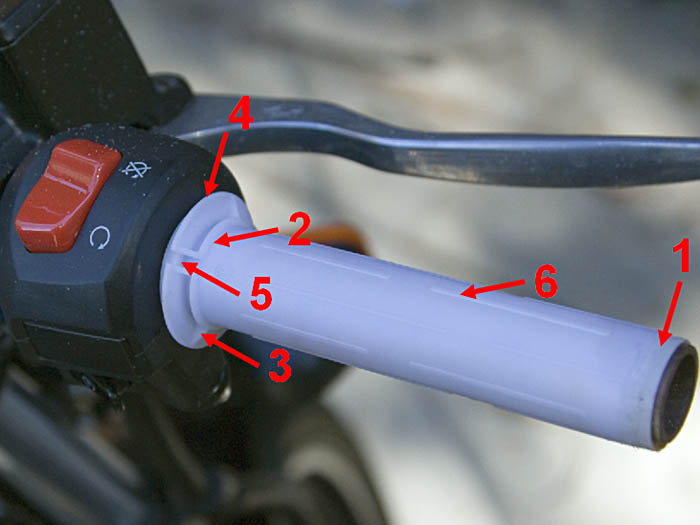
First you need to completely remove the raised ring at the far end of the tube (removed at Arrow 1). Next you need to remove the corresponding ring at the other end (Arrow 2) and the triangular supports (Arrow 3). The largest ring (Arrow 4) can be ground down flush with the one marked by Arrow 5. Finally that remaining ring (marked by Arrow 5) can be ground down so that it only sits 2-3mm proud of the rest of the throttle tube. This remaining ring will fit inside the depression at the end of the grip. The ridges (Arrow 6) can be left as they are without any issues.
Installing the left-hand (clutch side) grip
I choose to ignore the instructions and opted not to use their supplied superglue. This glue is instant setting and the grips are a tight fit - I suspected that I would have difficulty getting them on and in place in time. Superglue certainly doesn't leave a lot of margin for error and it means that you can't remove your grips later.
I decided to use 5 minute epoxy. Because it is a resin it helps lubricate as you push the grips on, give you a bit of time to adjust them into the correct position and then will set hard.
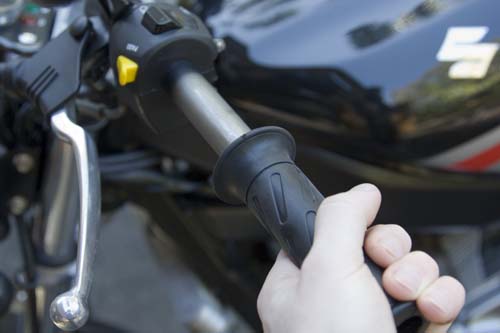
Mix up your epoxy and lay some narrow lines on the handlebar that extend about 1/3 along. Then simply push on the grip. Rotate the grips a bit as you push them on and it will spread the epoxy around a bit. Use an acetone soaked rag to wipe of any excess.
You will need to check your clutch lever doesn't get fouled by the cable entry on the edge of the grip and same for the horn switch. Again, with the sealant you can twist it until you are happy with the position. Then screw the bar end back in.
Installing the right-hand (throttle side) grip
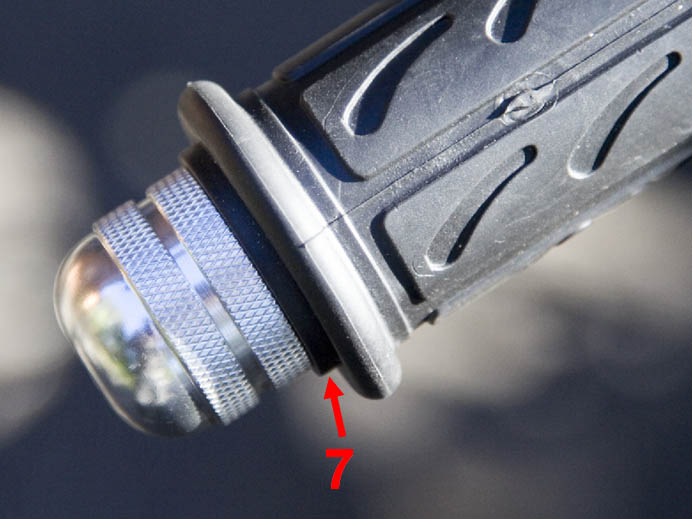
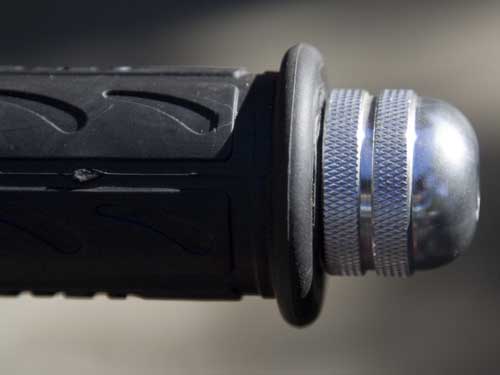
Before the right hand grip is installed you need to cut off the ridge at the end of the grip (Arrow 7). Cut it with the scalpel so that the end of the grip all sits flush. The reason for this is that the grip will be too long for the plastic throttle tube and therefore it will bind against the bar end - and your throttle wont spring back to idle. The trimmed end is shown below.
Attach the grip as for the other side with the epoxy. Be careful that you don't use too much - use the non-throttle side as a practice run to see how much you need. You don't want any overspill to glue up the throttle tube and stop it rotating as it should. Again, your acetone soaked rag will help you clean up any excess, but prevention is better than cure!
Make sure that you push the grip far enough so that the throttle tube is flush with the end of the grip to avoid the bar end binding issue. Once this is done there should only be a small gap between the grip and the kill switch housing.
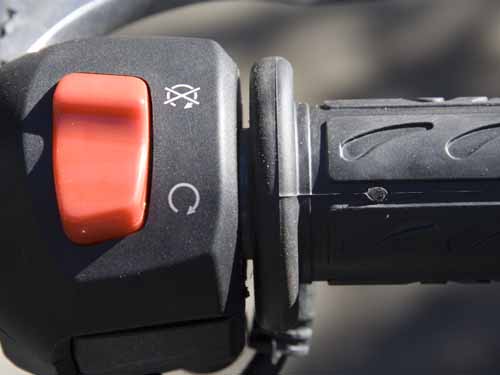
Again orientate the grip so that the brake lever and starter switch isn't fouled by the cable entry.
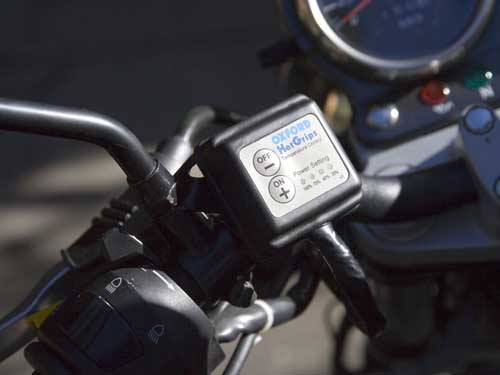
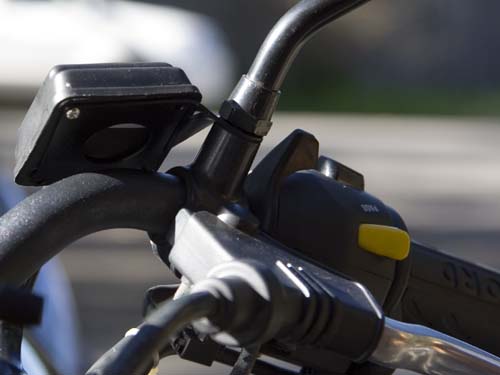
Mounting the heat controller
I used the supplied bracket and converted it into a mount that attached to the mirror stalk. Flatten it out, enlarge the hole, twist it to shape, paint - all simple stuff.
Electricals
This is all pretty much per the manufacturer's instructions. Plug it together, tidy up the wiring with zip ties and electrical tape.